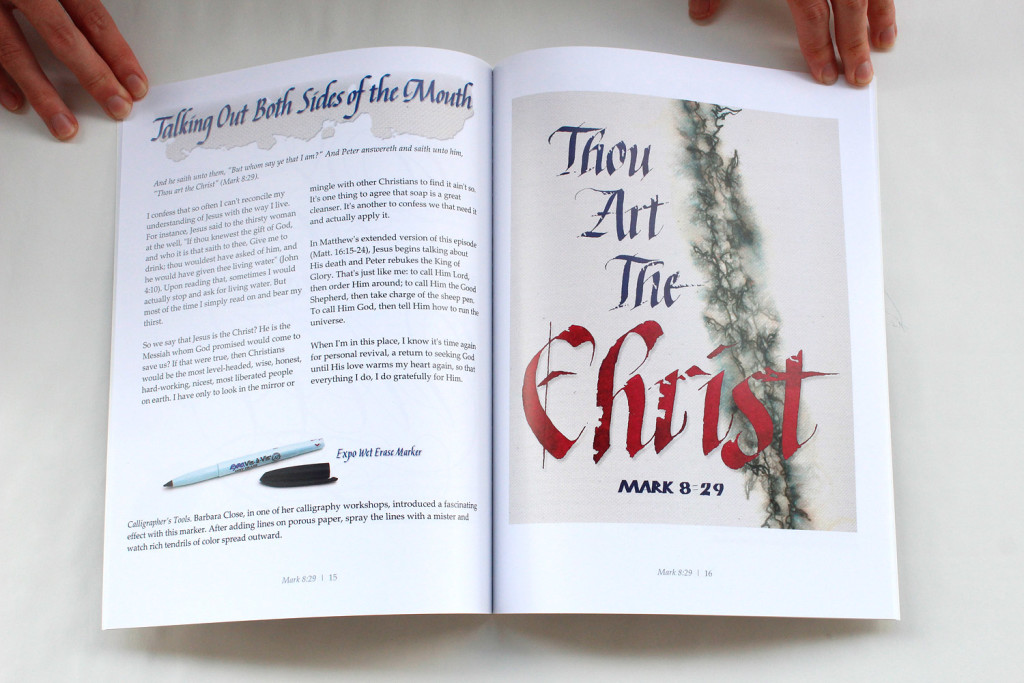
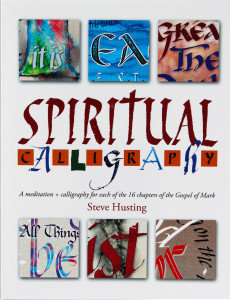
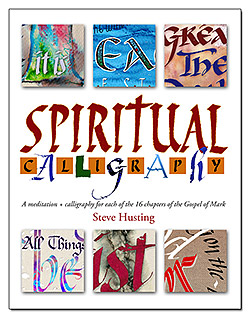
Here are the steps I followed to self-publish my book, Spiritual Calligraphy, on lulu.com in 2013. I went the POD way: Print On Demand. What this means is that I created the pages and cover artwork of the book, uploaded the documents to lulu.com, typed in the information for the book and store, told lulu.com how I want my royalties, and it is all set. A visitor to your storefront of lulu.com will see the book information, scan a few pages of the book, and purchase the book online. Lulu then prints the book and packs and ships it to the buyer, taking care of the credit card transaction for you, and depositing your money where you want it. The customer can order a physical copy of the book or a PDF version for mobile reading.
The cool thing is that I don’t have boxes and boxes of my books stacked around my mobile home. They are not even printed until someone orders a copy! I can also order a few to keep one on had to show others or give away as gifts. It does not cost you anything to create an account and upload your book. Lulu will take a chunk of the price of the ordered books and you’ll take whatever you set as your royalties. So that’s an overview of the benefits of going POD.
Take a look at my lulu.com storefront and book so you’ll know what I’m talking about:
Lulu book page: http://www.lulu.com/shop/steve-husting/spiritual-calligraphy/paperback/product-20966097.html;jsessionid=88361191B00AEA7811AED68A20F20808
Video of book: https://www.youtube.com/watch?v=mfl3xNJkwJA
You might be asking yourself, why would I want to make a book of my works? There are some good reasons to bookify (is that even a word?) your art:
- Keep a neat record of your work on your bookshelf
- Make a portfolio to show others your skill set
- Give your artwork as a gift
- Combine artwork, photos, and words to create a memento or event record
- Sell your work to the public in a side business
- If you are a professional calligrapher, let the book be your personal “salesperson” to show potential clients samples of the many different types of work you’ve done.
With any of these ideas in mind — or just for curiosity’s sake — let’s learn about making a printed book!
1. Put your book together
I chose to create all the pages myself. (I’m not a stranger to this.) You may want to hire a designer to create your book for you. Lulu has links to people who will take on the job.
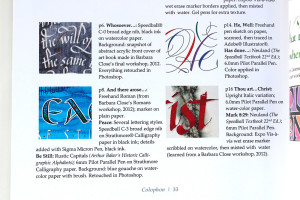
Format your interior pages in one of these formats: DOC, DOCX, PDF, or JPG, ranging from 32 pages on up. I created the pages of my 8.5 x 11” book in Word. This means I scanned or shot photos of my artwork, cleaned them up in Photoshop, and inserted them where I wanted. I made sure all my images were about 300dpi. (More about this later.) I wrote all the text and inserted all the captions and page numbers. I looked at the opening pages of a traditional book to see what material to add to the beginning of the book, such as the title page, dedication, copyright information, and so on, and created those.
You may want a different page size than 8.5 x 11”. Go to Lulu.com and decide on a page size, and set your Word or OpenOffice.org pages to this size with a margin of 1/2” minimum all around. I chose softcover to keep the price down. I chose perfect-bound so it looks like traditional books. Coil and side-stitch (stapling) were also available at the time I first wrote this.
If uploading as DOC or DOCX, you must use standard, common fonts. Lulu.com will give the current list. If you don’t use these, Lulu may substitute the font, and you’ll get unexpected line breaks or page breaks (or Lulu will reject the work).
If uploading a PDF, you can use any fonts that you can embed in the PDF. Make all inner pages 8.5 x 11” (or whatever size you picked from Lulu). Make page sizes 1/4” larger all around if they have images that “bleed” off the edge (this means pictures that will go all the way to the edge of the page). If for distribution in online bookstores, 8.5 x 11” will be cut down to 8.25 x 11”, so make sure margins accommodate this.I used CutePDF Writer (free download from http://www.cutepdf.com) to create my PDFs from Word, but for distribution channels (Amazon.com, B&N.com, etc.) you must use Adobe Acrobat, or upload the document as Word. Don’t use the PDF maker supplied with Word. Lulu partners with Amazon.com and other stores to sell your work! They do this by cutting down your royalties. So in Lulu.com, I get a royalty of $1.50 per calligraphy book (to keep the price of the book down), but with Amazon.com sales I get about 80 cents a book. Guess where I point my visitors to?
Color pages cost more than B&W pages, 15 cents as opposed to 2 cents each for smaller books. Clarification: if ANY page has color, then ALL the pages will be priced as having color, even blank ones. This price per quantity of pages is added to a book’s base starting point of about $4.50 per book for smaller book sizes, so the more pages, the higher the cost. At .15 cents each page for a color book, 36 pages adds $5.40 to the base price of the book. So it’s worth adding color to as many pages as possible.
We need to supply front and back covers. Supply a separate front and rear cover as 300dpi JPG standalone images that will be uploaded separately from your book pages. If full bleed, make the cover image 1/4” larger on each side. If you will have an ISBN added to the back cover, leave space at the lower right about 3” wide and 2” high to make room. There will be no printing on the inside front and back covers. Most web pictures are 72dpi, so you can’t download and use those in your book or they’ll look soft or mushy, or be rejected outright. If you already understand about 300dpi for images, you can skip to the next section.
For the best reproduction of your work, your images should be 300dpi. Dpi stands for dots per inch. (There is also ppi — pixels per inch.) Some cameras on their low resolution setting can product a JPG image of 640 x 480, which is not good enough for full-page reproduction.
For an 8.5 x 11” page with no bleed (meaning that there’ll be a 1/2” margin all around), the image size will be 2250px wide x 3000px high. We get these numbers by taking 7.5 x 10” (the image size that leaves a 1/2” margin all around), and multiplying those numbers by 300. 7.5 x 300 = 2250px wide. 10 x 300 = 3000px high. So you’ll want to scan your images and set the dpi of your scanner accordingly so the final size on the page is 300 dots per inch. This is known as high resolution for print.
So if your image is 5” square and will be the same size in print, then your cropped scan should result in an image that is 1500 x 1500 pixels. 5 x 300 = 1500. But perhaps you want to enlarge a portion of the print to, say, twice its size. So you scan the artwork at a higher count, 600dpi. You’ll then crop your larger image and enlarge it. So your 2 x 2” image will be 1200 x 1200 when cropped (2 x 600 = 1200); then you enlarge to 4 x 4” or a little larger and manually set the dpi to 300. Then it will be acceptable.
I’m sorry; none of this may make any sense to you until you familiarize yourself with an image editing program.
2. Upload your book to lulu.com
It does not cost you anything to sign up and upload your book materials to lulu.com. You only pay when you want a print copy for yourself. As I noted, Lulu gets its money when people actually order the book.
Finished with your book? Proofread it carefully? Time to publish it! Go to http://www.lulu.com and start the process of making your book. You can follow along with all these steps without needing to buy anything. You’ll sign up as with any other site, with name, email, and password. You’ll choose paperback or hardback, your book title, author name, paper type, book size, page length, and binding. You can click on a link to see the book’s price (without royalties).
You’ll upload your interior files. Once they are up, you can put them in the order they will appear in the book. I uploaded all interior pages as one PDF, so I just needed to upload one document. When finished, click to make a print-ready file. I downloaded the file to make sure it was made correctly. Lines may wrap differently than your version, creating awkward lines. That happened in mine, so I had to correct the original. Zoom in tight and check every detail.
Next, you’ll upload your front and back covers separately. If you are not making cover art yourself, then you can use Lulu’s pre-made covers, add text to the front and back and spine, and choose the type style and color for the text. When that’s done, you’ll want to click on the link to view your book online. Look at each page to make sure the pages are in order and the way you want. If it’s not right, you can revise the original and upload a corrected version of the interior pages or covers.
Once you are satisfied with the book contents and save and continue, you are ready to enter your book details. Select a category (Arts, Sports, etc. On what “shelf” of the store would it be placed?). Give your book description (what is the book about? — put your sales pitch here). Add a copyright date and owner name. Create a list of keywords (use words you think people will type to find your book). Indicate what Access you want. I always start by setting Access to Private, then buying a copy for myself. Once I am satisfied with the copy, I set it to General Access for the public. Royalties: How much do you want to make per book? That amount will be added to the book price.
3. Examine your book
Now it’s time to buy a book for yourself. Order one, using PayPal or credit card, and choose a shipping option. Shipping time begins after the printing time, of which printing may take 1-3 days depending on the queue.
Examine your book. Sometimes the pictures look different in print than they do on the screen, perhaps darker. Re-do where necessary. Mine were perfect or just slightly dark. If satisfied, set the Private Access to General Access, and make a note of your store’s URL to put in your publicity materials so people know how to reach your book’s page or your storefront (my storefront with all my Christian books is: http://www.lulu.com/spotlight/stevehusting/). They will be able to view your book cover, description, price, even read the first several pages (you will set how many pages are viewable). They will be able to buy your book online and choose from several shipping methods and prices. Lulu provides all this functionality, so you can take credit card orders without needing a credit card reader. Lulu.com will keep track of your orders so you can report to IRS.
Now go through your stuff and decide what you’d like to bookify! If you have a POD calligraphy book, put a link to it in the comments.

