Starting a Calligraphy Business?

How do you get started in a calligraphy business? I don’t have all the details, but I do know that you’ll need to determine exactly what you want to do with your skills. I thought I’d jot down the different kinds of ways we can apply our calligraphy. Continue reading

Posted in Resources | Leave a comment

Calligraphy Museum — just dreaming

What would I like to see in a U.S.A. museum dedicated to calligraphy? Here are some ideas.

  • Displays that change art monthly to show us the great diversity in art styles. Show old and new works, and at other times, organize works based on a theme, season, or person.
  • Rooms displaying art gifts to the museum. These pieces can rotate as the collection grows. Can auction off to support the museum.
  • A hall of remembrance showing departed calligraphers and their works. (It’s a calligraphy museum, so these top points would take up the most space.)
  • Visual timeline of calligraphy through the centuries, showing how one style is the offshoot of another. This can be stretched across the four walls of a room.
  • Room selling calligraphy art. Rotated.
  • Give demonstrations for visitors. Work to be projected on a wall for all to see.
  • Classes to learn hands-on calligraphy for a fee.
  • Displays showing the many kinds of calligraphy tools and equipment used over the ages.
  • Shop for mementos, books, and supplies.
  • Lecture hall.
  • Video room of screens showing calligraphy videos curated/spliced together from YouTube or other free sources, with comfortable seating.
  • Snack bar and seating.
  • Space for calligraphers to post their business cards.
  • Security cameras and staff.

To put this into motion, we just need to win the next 500-million-dollar Powerball, then hire professionals experienced in managing the above areas. When the money runs out, it all shuts down. It’s OK to dream!

Do you have some ideas not listed here, or thoughts on the subject? Please comment!

Posted in Uncategorized | Tagged , , | Leave a comment

Star Wars: The Force Awakens — in Calligraphy!

Just for fun, I made these four Star Wars character names in calligraphy on bookmarks. Occasionally during the year, several of us calligraphers will attend a function, such a  book fair or outdoor art fair, set up a table and chairs, and create bookmarks of people’s names for them when they stop by. (On the back of the bookmark is information about our Orange County guild.) If you watch these videos, you’ll see the types of bookmarks I make — in this case, as if Luke Skywalker, Han Solo, Kylo Ren, and Rey had come up to the table!

The videos are located here: https://vimeo.com/user19862488/videos

You can download the final pieces from here (click on the down arrow at lower right): https://www.flickr.com/photos/95697769@N07/23315668624/in/album-72157662043469289/

starwars-bookmarks

Posted in design | Tagged , , , , , , | Leave a comment

Inspiration in my Flickr account

I have two 3-ring binders of material that I had printed out over time and assembled. When I see an inspirational calligraphic work on the Internet, I save the image to my hard drive in a particular folder for that purpose. After I get enough of them, I open Word and past similar images together. I print those out and place them with like subjects. For instance, Copperplate and handwriting material are grouped together with a divider.

3-ring binders, dividers

3-ring binders, dividers

Continue reading

Posted in design | Leave a comment

Making a folded pen or cola pen

Barbara Close taught her students how to make a folded pen, also known as a cola pen (yes, as in soda pop). A fellow student, Juan, graciously posed for the step-by-step photos.

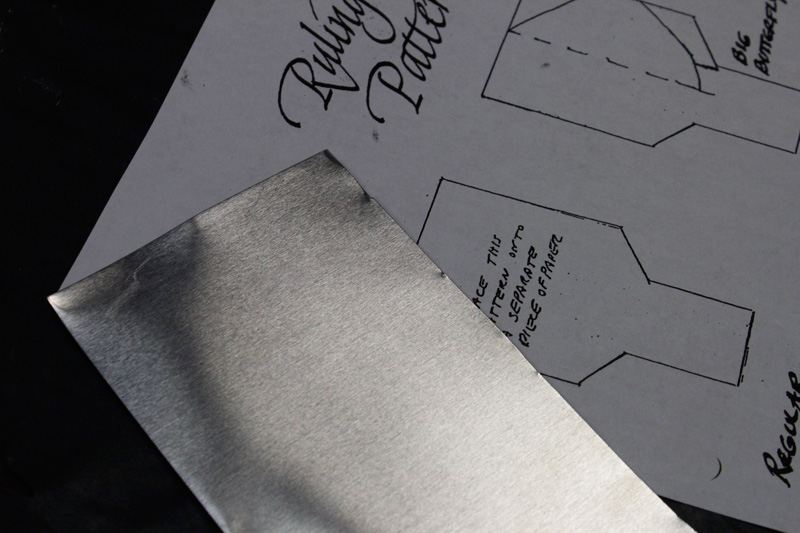
  1. First we cut the strip of sheet metal Barbara supplied according to a pattern:
Hand-made folded pen, shape to cut

Hand-made folded pen, shape to cut

Continue reading

Posted in Resources | 2 Comments

Typical Calligraphy Pitfalls

These are different kinds of mistakes I’ve seen in myself and others over the years with calligraphy work. Do you see yourself in these areas? In what areas can you work for improvement?

  • Jumping right into an important project instead of taking the time to warm up with the lettering and flourishes first, to get into the flow and rhythm, a steady hand.
  • To keep on lettering instead of cleaning the pen every few lines. As a result, the strokes are uneven.
  • Failure to practice new lettering types with appropriate guidelines and slant lines.
  • Forgetting to protect the writing surface from spills, drips, and human oils. Continue reading
Posted in design | 3 Comments

Publishing my Book on Lulu.com

Inside pages of my Spiritual Calligraphy devotional book

Inside pages of my Spiritual Calligraphy devotional book

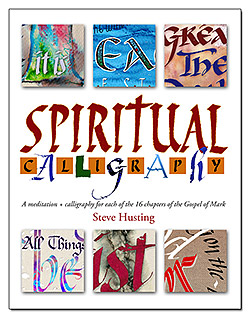
Here are the steps I followed to self-publish my book, Spiritual Calligraphy, on lulu.com in 2013. I went the POD way: Print On Demand. What this means is that I created the pages and cover artwork of the book, uploaded the documents to lulu.com, typed in the information for the book and store, told lulu.com how I want my royalties, and it is all set. A visitor to your storefront of lulu.com will see the book information, scan a few pages of the book, and purchase the book online. Lulu then prints the book and packs and ships it to the buyer, taking care of the credit card transaction for you, and depositing your money where you want it. The customer can order a physical copy of the book or a PDF version for mobile reading.

The cool thing is that I don’t have boxes and boxes of my books stacked around my mobile home. They are not even printed until someone orders a copy! I can also order a few to keep one on had to show others or give away as gifts. It does not cost you anything to create an account and upload your book. Lulu will take a chunk of the price of the ordered books and you’ll take whatever you set as your royalties. So that’s an overview of the benefits of going POD. Continue reading

Posted in design | Leave a comment

My Cardboard Whopperplate

I made a Whopperplate.

Out of cardboard, tape, glue, and two pencils.

Yep:

Cardboard whopperplate, top

Cardboard whopperplate, top

Continue reading

Posted in design | 1 Comment

Prayer Promises Accordion Book

I had a 30″ x 5″ strip of paper left over from my last class homework’s accordion book (previous post). I had cut it to use as a backup in case I needed to redo. I decided to turn it into a book of prayer promises for myself. Here are the steps I took to create it.

Prayer Promises Accordion Book, swash Italic side

Prayer Promises Accordion Book, swash Italic side

Continue reading

Posted in design | Tagged , , , , , | Leave a comment

Accordion book project

Barbara Close gave her class the homework project of creating an accordion book with our calligraphy on the inside. Once again I was faced with filling a blank sheet of paper. After talking to my architect brother about the project, the ideas began flying, and I thought I would cut holes in the pages and outside edges. (This was one day before the project was due.) That evening I went to work, measuring out all the cutouts first, then making the tracks the lettering will follow, then drawing the letters in pencil. The final paper size was 30″ x 5″, with six 5″ squares.

Accordion with pencil marks

Continue reading

Posted in design | Leave a comment